You have already configured some custom attributes in the settings, now learn how to apply these in Class Manager to Students, Customers etc
Applying custom attributes is easy when you know how to do it. Before you get started, it is important that you have already set up the custom attribute in the settings.
Custom attributes are exactly that, custom so you can apply many types of attributes (dropdown, yes/no, text box, etc.) to any of your company data points (customer, students, staff, etc.).
In this example, we are going to look at applying a custom attribute with the multi-select list type to a student. The method of using a custom attribute is pretty similar to any other custom attribute type.
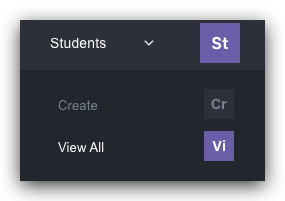
First, we need to find the student to apply the attribute to. For this example, head to Student > View All:

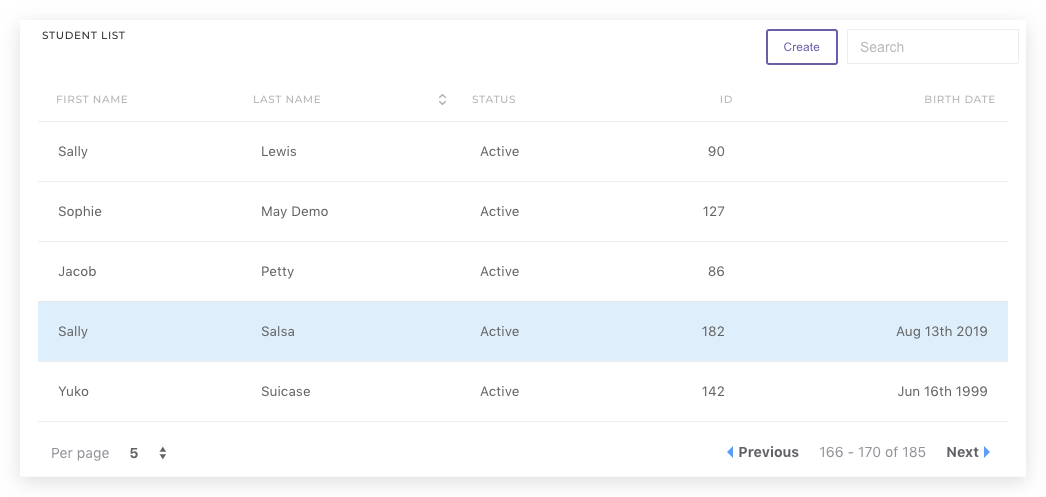
Then select the student from the list that you wish to apply the custom attribute on:

You will land on the Basic Information tab for the Student; this is also where the custom attributes are held. To ensure you are on the correct tab, check if it is highlighted green - like below.

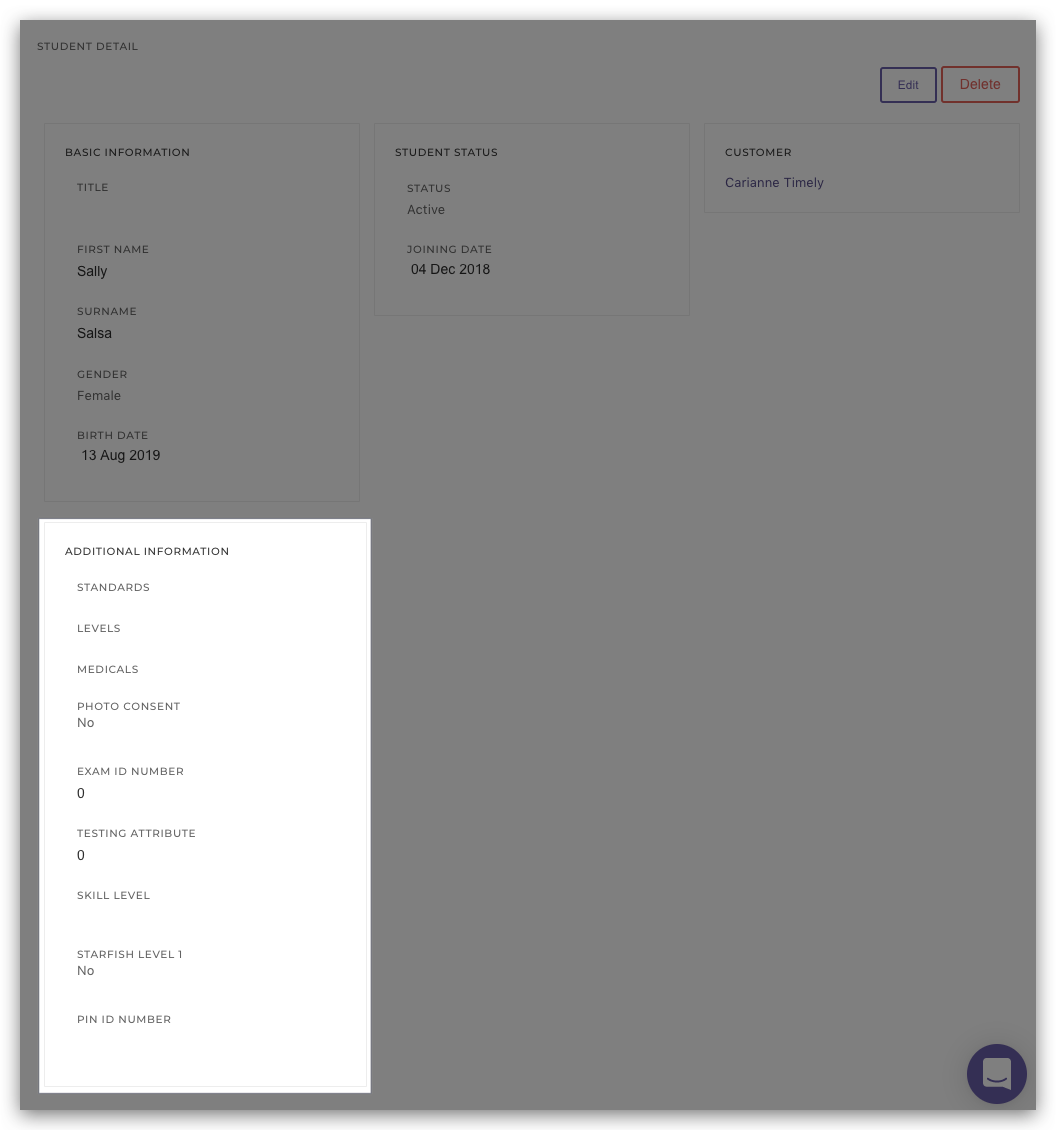
You can then find custom attributes in a section named Additional Information. We can see below that currently none are applied for our example Medicals.

To update and apply the new custom attributes, you need to hit the edit button at the top right of the page:

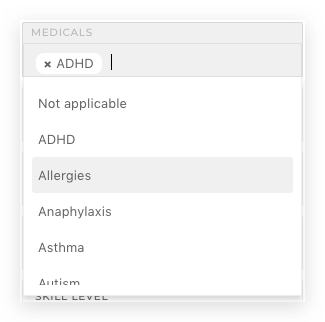
In the centre of the page, you will see your custom attributes. This example is a multi-select list. Just click the box and select the values you want to apply.

After making all your choices and checking if they are correct, you are ready to go ahead and save your changes. To finish hit the save button at the top right of the page.

